Slimjimdrums's community launcher combines game installation, addon management and a shared-save workflow for Windows PCs. His 2 November announcement introduced the package; the 3 November v3.20 release fixed ASBuilder download-name matching. Choose the game location during setup, then decide whether to enable cloud saving. The launcher requires Windows and .NET Framework 4.8.
Install into a new folder or use an existing client
- Download the release asset named
Azeroth Survivors Launcher.exe. Put it in a new folder where you want the game and addons, or beside an existing game client. - Run First Time Setup. Existing players select the folder containing
AzerothSurvivors.exe; this route skips downloading another client. If setup says that executable is missing, choose the directory that actually contains it. - For a new installation, check the destination before pressing DOWNLOAD GAME. With a client already present, FINISH SETUP returns to the launcher.
- If moving from browser play, IMPORT MY SAVE lets you select an exported
.sav. The file is validated when selected and imported when setup finishes. Replacing existing progress asks for confirmation and keeps a backup first.
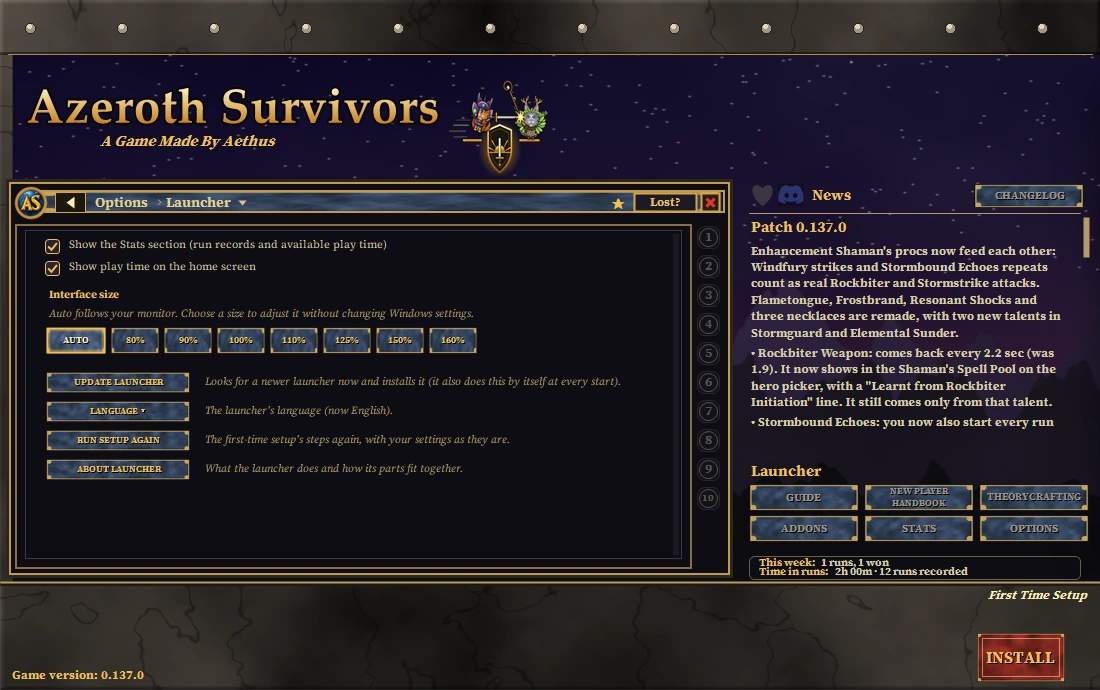
The game download tries its main host and Google Drive mirror, then the game's own download page as a fallback. Launcher updates and game updates are separate: the launcher checks its own release at startup and before PLAY; the game also runs its own updater at startup. To revisit setup, open Options > Launcher and choose RUN SETUP AGAIN.
Choose addons and understand updates
Open Addons > Download More, find the package you want and use INSTALL or UPDATE. First-time setup offers Azeroth Stats, which you can decline. Installed packages can be enabled or disabled in the addon manager. Its catalog distinguishes incompatible choices: AZSSpellMeter and AZS Max Hit are alternatives, and the three cursor replacements cannot be enabled together.
For supported GitHub packages, the manager resolves the author's release and verifies the exact ZIP against GitHub's SHA-256 digest. v3.20 accepts version names with or without a leading v, fixing ASBuilder matching. A missing asset, missing digest or mismatch stops installation before extraction. Check for a launcher update and retry the package rather than treating a rejected ZIP as installed. The addon directory explains what each package is for.
Connect the same cloud folder on two PCs
Cloud saving starts off. In Options > Cloud Save, turn on Cloud saving, then use CHANGE FOLDER beside Sync folder (inside your cloud drive). Choose a dedicated subfolder in Google Drive, OneDrive or Dropbox. Configure the other PC to use that same synchronized folder. Its local Windows path can differ, but the files must arrive in the same cloud location.
Both PCs need the cloud desktop app running and receiving files. The launcher works on a local cloud folder; that app moves the files across the network. Keep the sync folder separate from the game's save/config folders. The sync engine rejects overlapping folders and drive roots.
- Game saves: the game's save directory, normally
%APPDATA%\wenilla-rogue. - Addon settings: the saved settings used by installed addons.
- Addon program files: excluded from cloud copying. When downloaded settings belong to an absent catalog addon, the launcher can install that addon separately.
Under Options > Folders, verify Save game folder and Game config folder. Changing the launcher's save-folder setting changes where it imports and syncs; it does not redirect the game's own live saves.
What PLAY does, and when to switch computers
- Let the cloud desktop app on the first PC finish receiving files before PLAY.
- PLAY pulls the cloud state before starting the game. If that pull fails or is cancelled, this cloud-enabled launch stops so you can inspect the Cloud Save log.
- Play through the launcher and close the game when finished. After the session ends, the launcher pushes the updated state into the local cloud folder.
- Wait for the cloud desktop app to finish uploading. On the second PC, wait for its download to finish before pressing PLAY.
If both copies changed, the dialog offers USE CLOUD, KEEP LOCAL or CANCEL. One complete state is selected; progress is not combined. During a pull, USE CLOUD replaces the local copy, while KEEP LOCAL retains it for a later upload. During a push, KEEP LOCAL replaces the cloud copy, while USE CLOUD leaves the cloud copy and skips that upload. The overwritten state is backed up first.
Inspect status and recover the right copy
Options > Cloud Save has CHECK STATUS, DOWNLOAD and UPLOAD. CHECK STATUS reports whether copies match, one side changed, or cloud files are incomplete. DOWNLOAD and UPLOAD explicitly replace the chosen destination after confirmation. Close the game before either operation. If the log says the cloud copy is incomplete or still syncing, wait for the cloud app and check again.
For an unreachable sync folder, check that the cloud desktop app is running and that CHANGE FOLDER points to the intended location. For a folder-in-use error, close programs using that folder and retry. EARLIER DOWNLOADS lists earlier copies kept on this PC, retaining up to five downloads per data area. Restoring one is a last-resort operation for a broken save; it backs up the current files first. The engine also retains local replacement backups and cloud history.
Move a browser file without cloud-folder sync
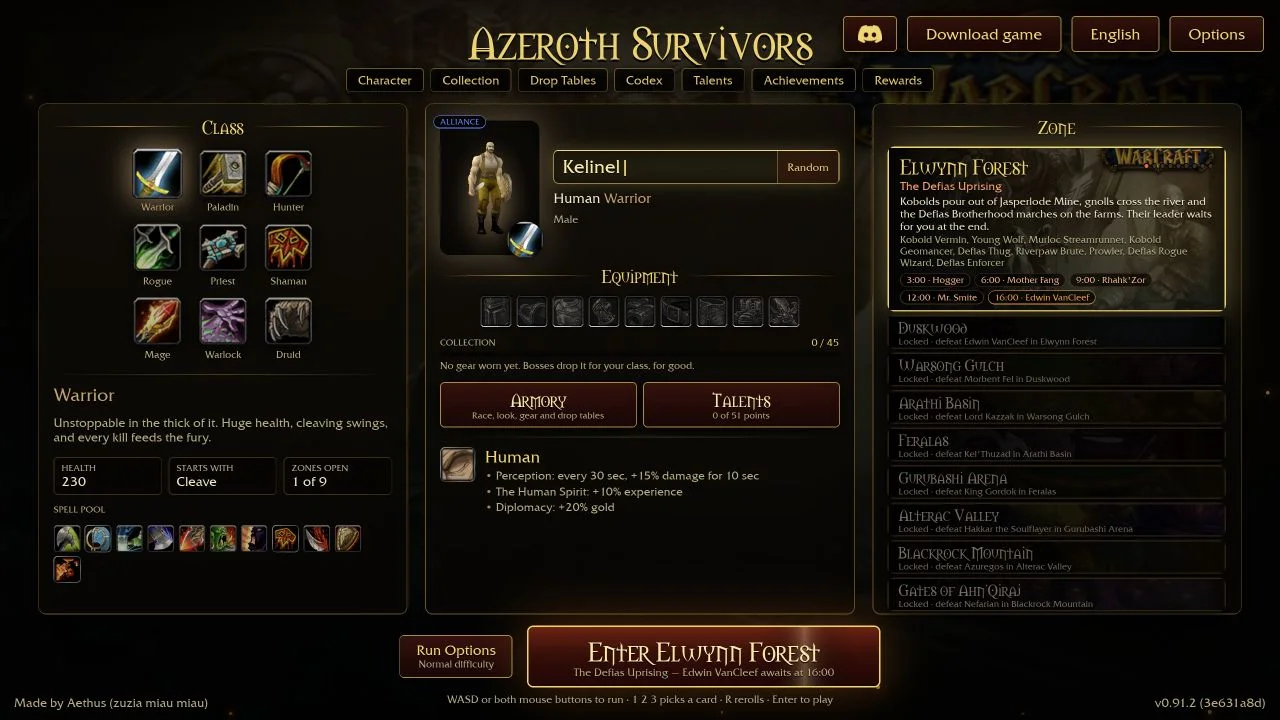
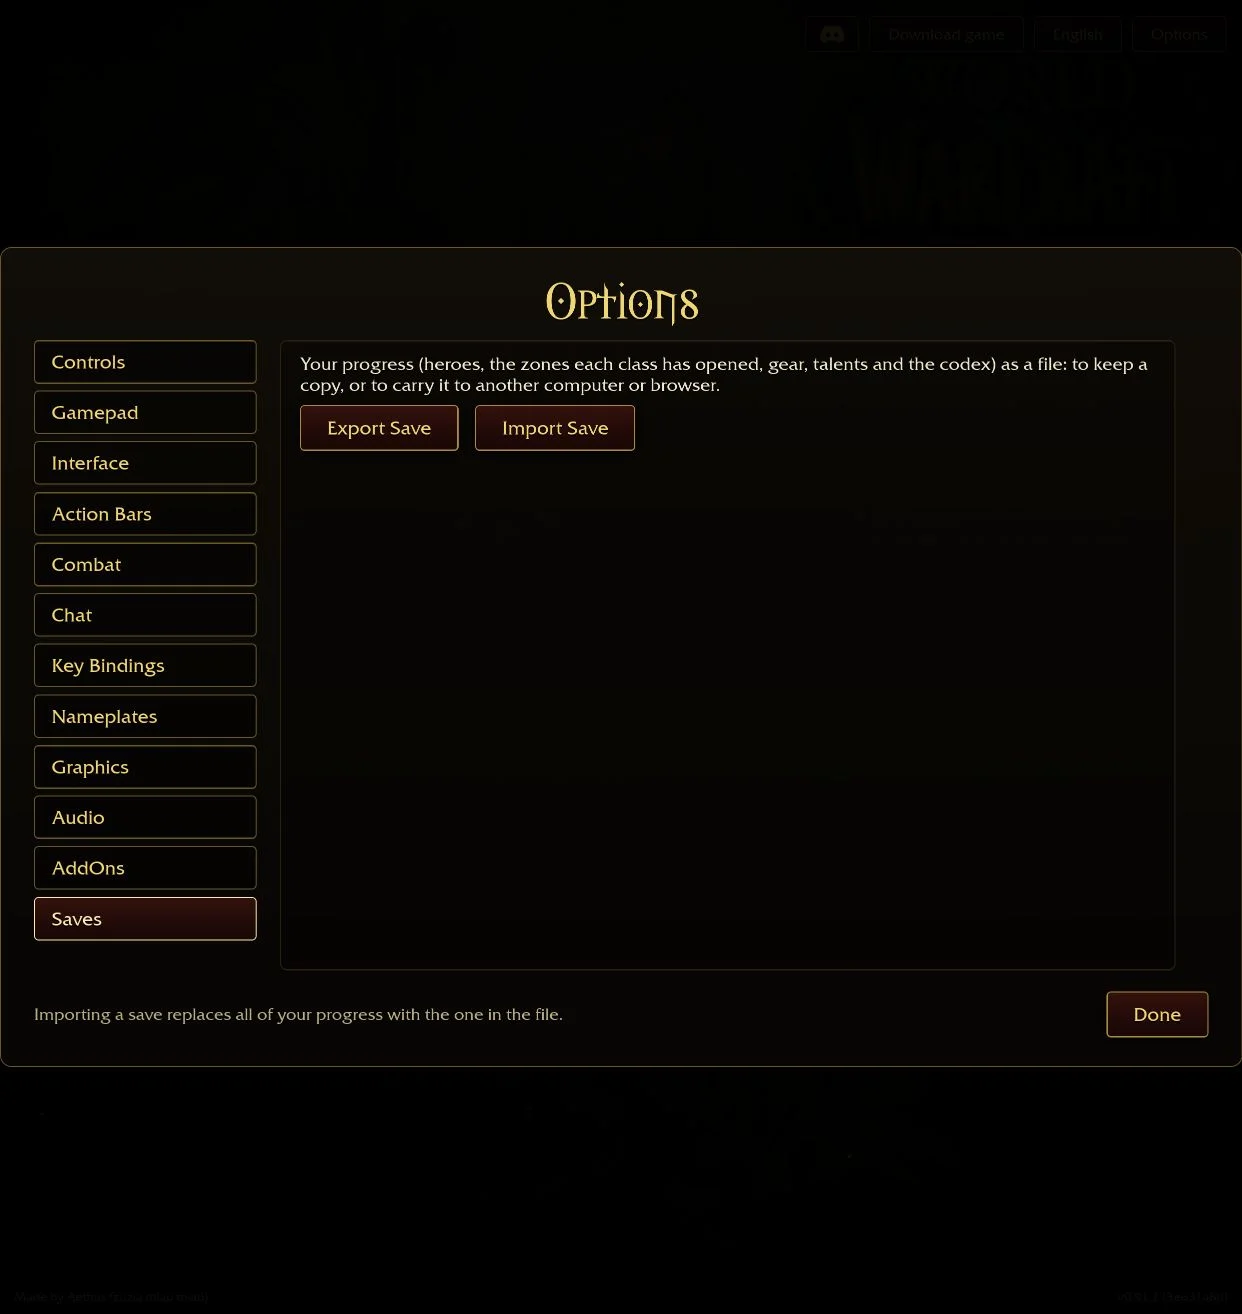
In the browser game, use Options > Saves > Export Save. In the launcher, open Options > Folders > IMPORT A SAVE. For the reverse trip, use the launcher's EXPORT SAVE, then the browser game's Options > Saves > Import Save. Export the destination's existing progress first if you want to keep it. The save backup guide covers file handling; this site's upload/download service is a separate manual workflow.
If validation says the file is not an Azeroth Survivors save, export it again from the game. Before-import backups sit in the save directory’s Saves folder, where the game’s own Options > Saves can restore them.
Read plans and statistics in their own context
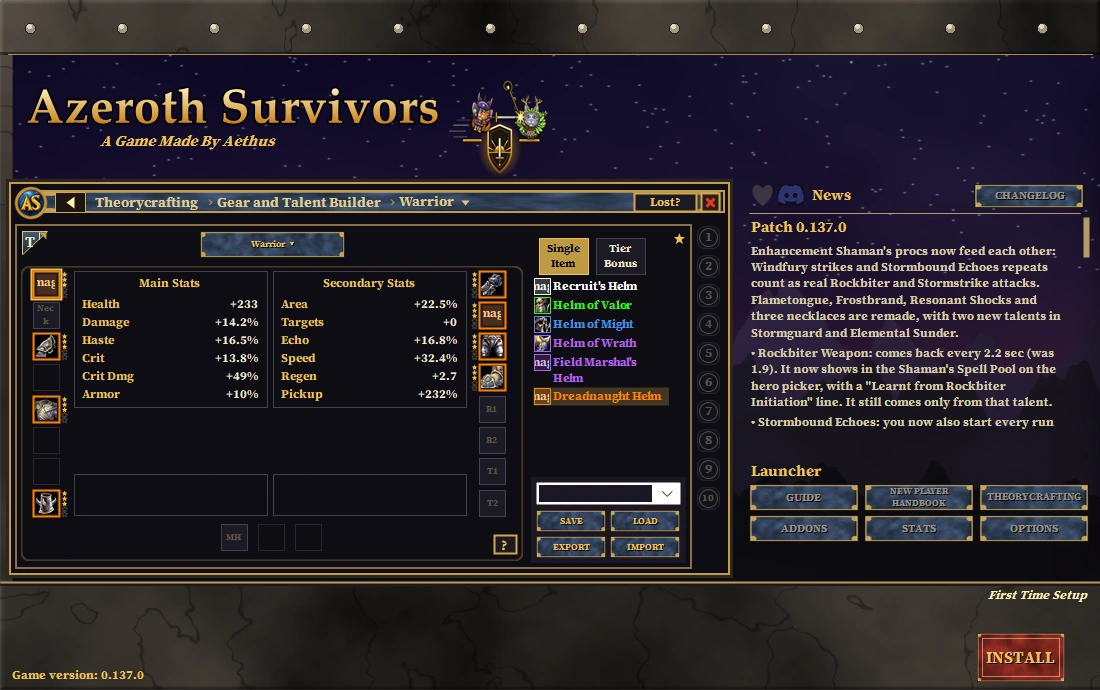
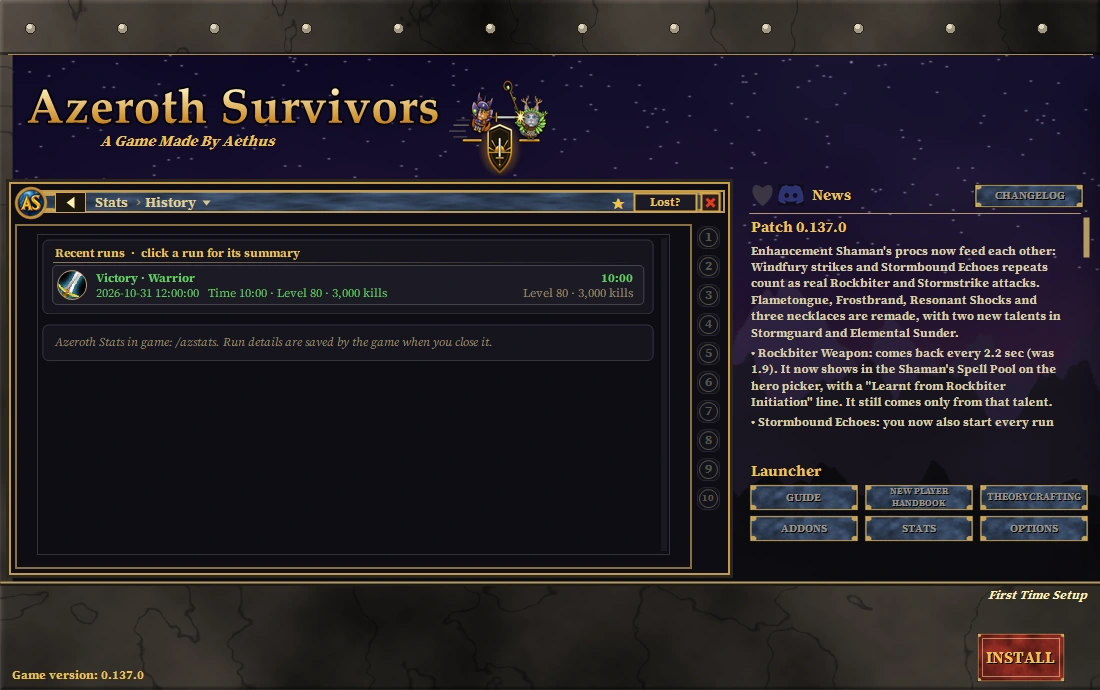
The Theorycrafting gear sheet compares selected items and set bonuses; its displayed totals describe those selections. Use SAVE and LOAD for plans. The optional Azeroth Stats addon supplies run history to the launcher, and the game writes those details when it closes. A fresh installation does not contain your past runs.
Slimjimdrums's 3 November Proton reply expressed interest while keeping formal launcher development on Windows. This package follows the Windows workflow.
Sources & scope
Slimjimdrums’s November author posts, v3.20 notes, setup and cloud-sync code, illustrated with Slimmy25’s published launcher previews.
- Slimjimdrums: launcher announcement, 2 November 2026
- Slimjimdrums: folder instructions, 2 November 2026
- Slimjimdrums: Proton reply, 3 November 2026
- Slimjimdrums: addon download fix, 3 November 2026
- Slimmy25: launcher README
- Slimmy25: launcher guide
- Slimmy25: v3.20 release, 3 November 2026
- Launcher session: cloud pull and push
- Cloud-folder synchronization engine
- Launcher setup controls and folder validation
- Launcher Options, addon manager and cloud recovery controls
- Launcher conflict choices
- Launcher save import validation and backup
- Download Azeroth Survivors Launcher.exe
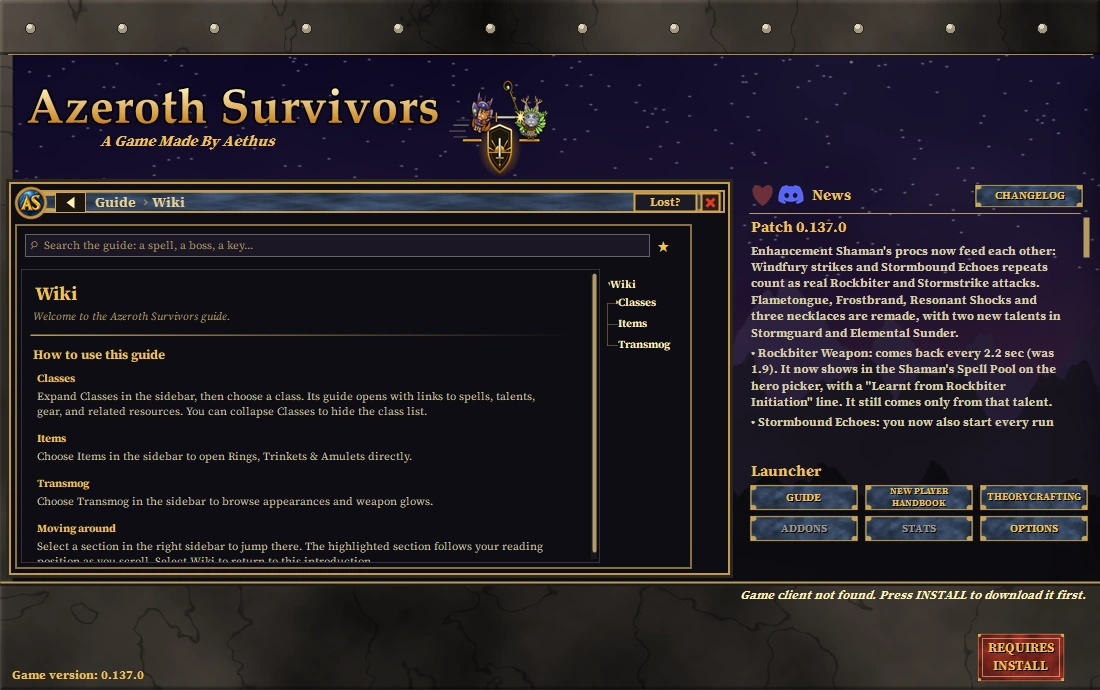
- Slimjim / Slimmy25: Guide wiki landing page, news panel and launcher navigation; game version 0.137.0 shown
- Slimjim / Slimmy25: Options > Launcher with UPDATE LAUNCHER and RUN SETUP AGAIN ↗
- Slimjim / Slimmy25: Theorycrafting gear planner with Warrior slots, computed stat sheet and SAVE/LOAD/EXPORT/IMPORT controls
- Slimjim / Slimmy25: Stats > History showing a sample Warrior victory and reminder that game saves run details on closing ↗